Homeowners often face plumbing hassles while installing a waste kit that can be time-consuming and costly.
One such common problem is the bathroom tub, where the waste and overflow mechanism can lead to leaks, slow draining, or a completely blocked drain.
However, with some knowledge and the right tools, you can install a waste and overflow kit, saving time and money.
Understanding The Waste And Overflow Mechanism
Prevention is always better than the cure itself. If you truly want to bid adieu to your plumbing issues, start acting when things are under control. Given below are certain considerations that are worth knowing when dealing with a troubled plumbing solution.
What Is A Waste And Overflow Kit?
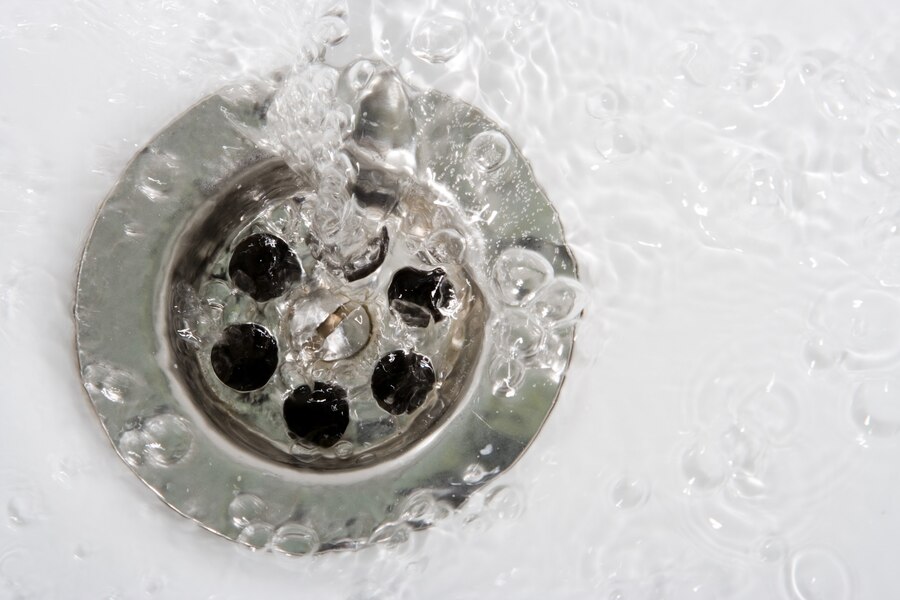
A waste and overflow kit is a plumbing component that allows you to fill your bathtub without the risk of overflow. This kit is typically designed to fit standard bathtubs and includes a waste and overflow drain. The waste drain is responsible for flushing the water out of the tub, while the overflow drain prevents water from spilling over if the tub is filled beyond its capacity.
Why Is It Important?
When working correctly, the waste and overflow system allows for safe and efficient water draining from your bathtub. However, like any other plumbing system component, it can suffer from wear and tear over time. A faulty waste and overflow system can lead to several problems, including slow drainage, leaks, and water damage to your home. Therefore, it’s crucial to maintain this system in good working order.
Identifying The Need For A New Waste And Overflow Kit
How do you know when to bring in a new waste as well as an overflowing kit? Here are some signs that you need to identify before opting for a new waste kit.
Signs Of A Problem
There are several tell-tale signs that your waste and overflow system may be failing:
Slow Drainage
If your bathtub drains slower than usual, this could indicate a problem with your waste and overflow system.
Frequent Clogs
While occasional clogs can happen, frequent clogs indicate a problem with your waste and overflow system.
Leaks
Leaks around your tub, particularly near the overflow drain, can suggest that your waste and overflow kit needs replacement.
Sounds:
If you hear gurgling sounds when your tub drains, it could mean a problem with the waste and overflow system problem.
Inspecting Your System
If you observe any of the signs mentioned above, it’s time to inspect your waste and overflow system. You can do this by removing the overflow cover and visually checking the overflow pipe for any visible blockages or damage. If you notice any signs of wear and tear, replace your waste and overflow kit.
Choosing The Right Waste And Overflow Kit
There are numerous waste and overflow kits available in the market. Choosing equipment that suits your specific bathtub and meets your personal preferences is essential. Here are a few considerations:
Material
When it comes to choosing a kit, materials remain the top-notch priority. Waste and overflow kits are commonly made of plastic, brass, or stainless steel. Each material has pros and cons, so choose according to your needs and budget.
Size
Ensure that the kit you select fits your tub. Check the diameter of the waste and overflow pipes to ensure a proper fit. Opting for a big-size kit will not help you in the long run, as it will keep clogging the plumbing system again.
Style:
Some kits come with designer finishes that can add to the aesthetic appeal of your bathroom. Choose a style that matches your bathroom décor. A kit doesn’t necessarily have to be boring and outdated with your contemporary decor.
Ease of Installation:
If you plan to install the kit, look for one with clear, step-by-step instructions. Ensure that you don’t turn things expensive while trying your hands on the same. Always look for a kit that is easy to install or seek professional help.
Installing Your Waste and Overflow Kit
Installing a waste and overflow kit can be straightforward if you understand plumbing and the right tools. Below is a step-by-step guide on how to go about it:
What You’ll Need
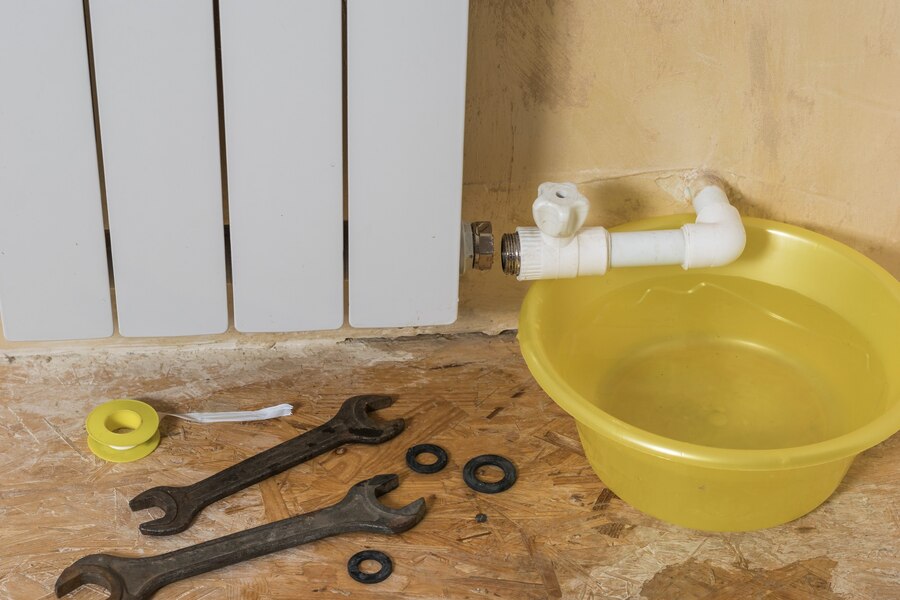
Here are the tools and materials you will need for this task:
- Waste and overflow kit
- Plumber’s putty
- Pipe wrench
- Screwdriver
- Plunger
- Teflon tape
Steps To Install The Waste And Overflow Kit
While you might be a pro at knowing your plumbing concern, you must certainly not attempt to install the kit. Call in a professional to install your waste as well as overflow kit. However, they generally follow the below steps to make sure you have an unclogged plumbing system.
Step 1: Preparation
Before starting, turn off the water supply to your bathtub. Then, remove the existing waste and overflow system using a pipe wrench and screwdriver.
Step 2: Installing The Overflow Drain
Apply the plumber’s putty around the flange of the new overflow pipe, then insert it into the overflow hole in the tub. Secure it in place with the provided screws.
Step 3: Installing The Waste Drain
Next, install the waste drain in the same way. Apply the plumber’s putty around the flange, insert it into the drain hole, and secure it.
Step 4: Connecting The Drains
Connect the waste drain and overflow drain using the provided pipe. Ensure all connections are secure and sealed with Teflon tape to prevent leaks.
Step 5: Testing The System
Finally, turn the water supply back on and fill the tub halfway. Watch for leaks around the connections and drain the water to ensure the system drains appropriately.
Conclusion
Plumbing issues can be daunting, especially if you need to familiarize yourself with the intricacies. However, understanding your waste and overflow system and learning to install a waste and overflow kit can help you save significant time and money on professional plumbing services.
Remember, while doing it yourself can be rewarding, feel free to contact a professional if the task seems overwhelming or you encounter complex issues during installation. Plumbing is a critical aspect of your home’s infrastructure, and sometimes, it’s best to leave it to the experts.
Additionals:


